Quick Start Guide
This quick start guide shows you how to get started with MinuteMe®.
Step 1. Create a workspace
In MinuteMe all meetings are created in a Workspace. A Workspace is a grouping of meetings that are owned by a specific organization. Each Workspace is a separate billing entity and has a Plan assigned to it.
When you first login to MinuteMe and create your first meeting the first step is to create (or join an existing) Workspace.
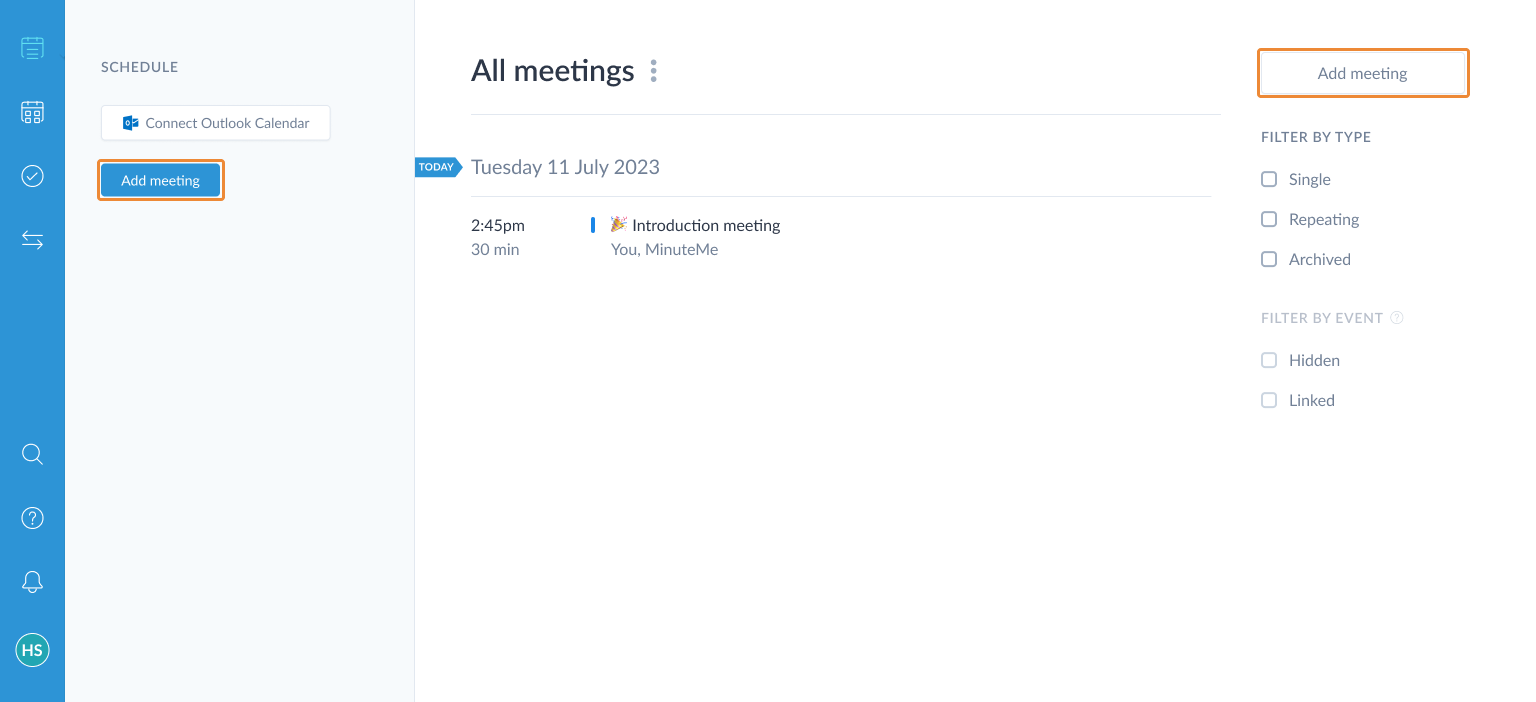
Click Add meeting:
If other people in your organization (with the same email domain) are already using MinuteMe you will be provided with a list of workspaces you can request access to. Choose any suitable workspace suggestions and click Request access:
Tip: Requesting access to an existing Workspace will send a notification to the Workspace owner for approval. Once approved you will be notified by email and then will be able to add a meeting.
If there aren’t any suitable workspace suggestions you may need to create a new workspace. Read more in our When should I create a new workspace help guide.
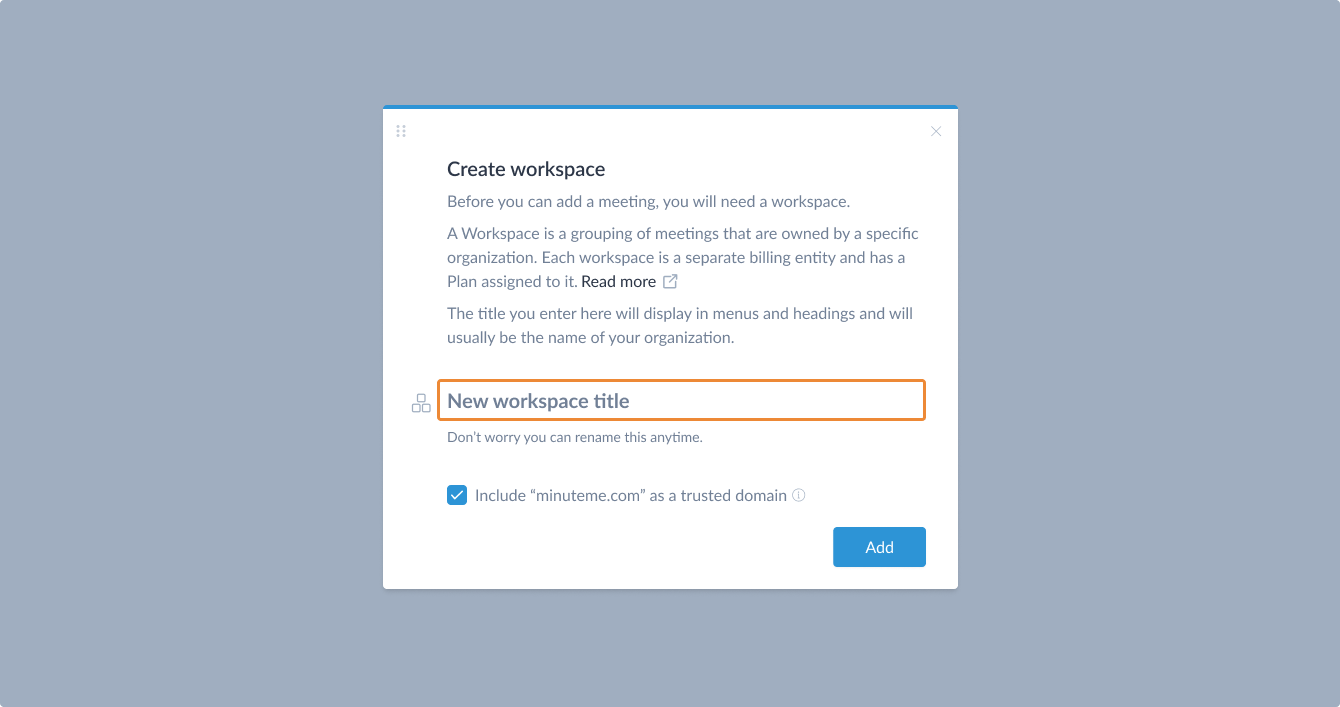
Enter a name for your new workspace and click Add:
The title you enter for your workspace will display in menus and headings within MinuteMe and will usually be the name of your organization.
Tip: More detailed information can be found in the Workspaces help guide.
Step 2. Add the meeting
Create a meeting
From the calendar dashboard or the series dashboard click Add meeting.

Select the workspace (only required if multiple workspaces exist).
Set the meeting Title. If a repeating schedule is chosen, this becomes the default name for each meeting.
Choose One-off to create a single meeting or select a recurrence of either Daily, Weekly, Monthly or Yearly to create a repeating series.
Set the start and end date/time of the first meeting. In a series with a repeating schedule, each meeting will use the same start and end time.
Add a new user by typing their name or email address. If they do not appear in the list, type their email address and press Enter. For detailed information, refer to the Adding a new user section of the Series help guide.
Indicate who can access the meeting using MinuteMe, and what level of access they need to the meeting. For detailed information, refer to the Regular invitees and meeting permissions section of the Series help guide.
Set the regular meeting Location and Online meeting link. These will automatically be applied to each meeting in the series - although can of course be changed for each meeting if the location is different.
Choose to group with an existing meeting, this option is only available to One-off meetings.
For advanced settings including Setting timezones, Integration with cloud storage services and more Recurrence options select More options to view the advanced add meeting modal.
Step 3. Prepare for a meeting
Set up the regular meeting topics
After the meeting is created, or at any point in the future, you can modify the regular agenda topics for meetings in the series using the Agenda template. These topics will be automatically added to the agenda each time you meet.
For more information, refer to the agenda template section of the series help guide.
Add specific discussion topics to a meeting
The agenda can be updated for an individual meeting from the meeting details page. It will start with the agenda template topics.
If the same topic was in the previous meeting, any Action Items closed since the last meeting or still open will be displayed.
Tip: Change the order of topics using drag-and-drop. Drag a topic to the right to make it a subtopic, or back to the left to make it a topic.
Send the agenda
To send the full agenda including document attachments and open action items from past meetings, use the Send agenda action on the meeting details page when the discussion topics have been entered and are ready to send for distribution.
When sending the agenda, you can choose to have a PDF copy saved to the Documents tab of the meeting for future reference. The agenda can also be saved to a cloud storage service.
Tip: To see a copy of the agenda as a PDF prior to sending, use the Preview agenda action.
Print the agenda
A PDF of the Agenda can be created before the meeting has started.
- Use the Preview agenda action on the meeting details page.
Step 4. Meet
Capture the discussion for your meeting
Record the meeting attendees, attendance, minutes, action items, documents and private notes on the meeting details page.
Attendance is recorded by clicking on an attendee in the Attendance menu. An X indicates they were absent from the meeting.
Join meeting is displayed half an hour before a meeting starts if you use the Online meeting link in the add/edit meeting window.
Add discussion topics, drag them up and down to re-order, or drag them left and right to change between a topic and subtopic.
Use the rich text editor for the meeting discussion. Action items can be added inline during entry of the minutes (meeting notes) by typing @[name]. Refer to the Editing topics help guide for more information.
Attach documents that are related to the discussion topic by dragging them onto the minutes.
Send the minutes
To send the minutes including document attachments and open action items from past meetings, use the Send minutes action on the meeting details page.
When sending the minutes, you can choose to have a PDF copy saved to the Documents tab of the meeting for future reference. Minutes can also be saved to a cloud storage service.
Tip: To see a copy of the minutes as a PDF prior to sending, use the Preview minutes action.
For more information about sending the minutes, refer to the Send minutes section of the Meeting details help guide.
Print the minutes
A PDF of the Minutes can be created after the meeting has started.
- Use the Preview minutes action on the meeting details page.
Step 5. Repeat steps 3 and 4!
Now that you have completed a full cycle for a meeting, the next steps really are to ensure that you update your agenda template as required, and then continue adding and updating your minutes and action items.
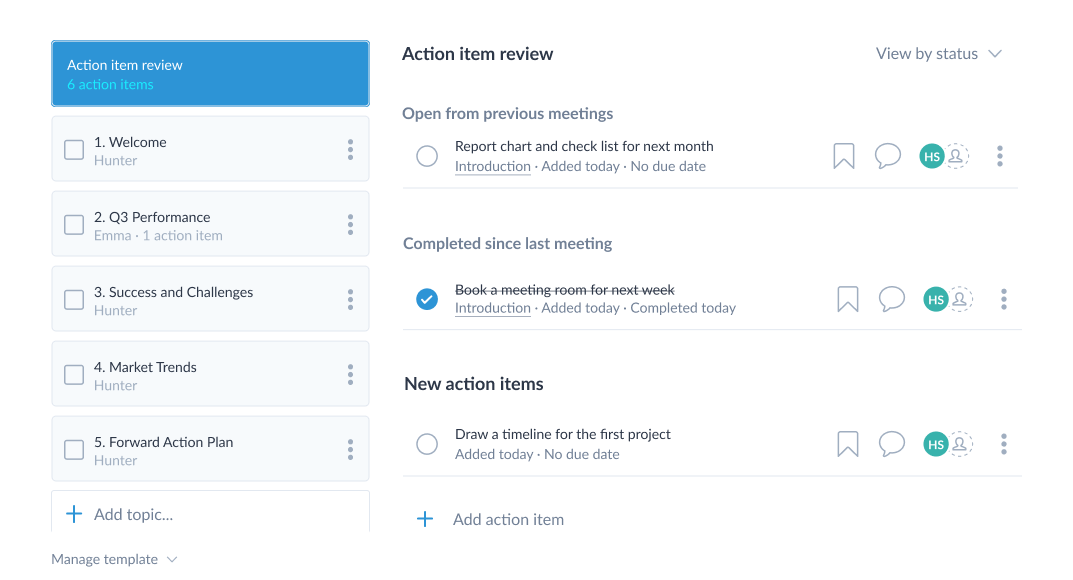
When you start your next meeting, you’ll be presented with the Action item review as the first discussion topic. This gives you an actionable summary of action items from all the previous meetings in the series.
Now accountability is much more important, and your meetings can be much more productive.


